If you are looking for a fast way to become an amazing wildlife photographer, well, there isn’t one. Amazing wildlife photography takes practice, persistence, and being at the right place at the right time. These 5 quick tips will help you be on your way to capturing better wildlife images, and give you a foundation for becoming a better wildlife photographer. For the sake of ease and clarity, we’ll list the tips in a numbered sequence, and the order doesn’t have anything to do with importance, or lack thereof. Alright, grab your pen and paper. Let’s get started!
- Reach, reach, reach! So many folks are trying to take wildlife images with short lenses. If you’re even remotely serious about wildlife photography, check EBay, Facebook Marketplace, Craigslist, or your other favorite buying site for an entry-mid level Dslr. You don’t need the best right now! Find an inexpensive Dslr that can be used with descent lenses. You can buy a used Canon 60D and Tamron 150-600mm (first version) for less than $1,000. Most of my wildlife portfolio was taken with this combo! Still too expensive? Try the Canon 70-300mm kit lens; it’s not the best but it will definitely do the job for around $100 (about $400 total with the 60D). You can always upgrade later. More reach will give you clearer, more detailed images, and the opportunity to photograph a subject without scaring it off. For the importance of not spooking wildlife subjects, check out my other post here.
- Shoot from your vehicle! Your vehicle is a portable blind! Obviously, you do not want to be trying to photograph wildlife while you’re driving, so be wise. Pull over, sit and wait. You can rest your lens through the window to keep the camera steady. Great places to photograph wildlife are nature reserves, state parks, and other areas where animals are protected. These areas generally have roads through them for wildlife viewing anyway. Many of my portfolio images were taken from a vehicle. For the most part, animals are going to flee if you try to approach them on foot; whereas, they generally are not bothered by vehicles (at least in my experience). Oh, and a tip for cold-weather photography from vehicles: if your vehicle is warm and the ambient temperature is cold, heat diffraction will ruin your images. There are a of couple ways around this. One is to get out and away from your vehicle, about 10 feet or so should be plenty. Another, is to shut the vehicle off for about 10 minutes. The motor will cool, causing less heat diffraction.
- Do research! Where are the best birding locations in your area? There are websites and apps that help photographers figure out where to shoot. For birders, check ebird.com. Fellow birders document what birds they have seen and when. For other types of wildlife, contact your local conservation department. Tell them you are a photographer interested in photographing local wildlife. At the very least, they should be able to refer you to someone who will have the answers.
- Lighting! Light is key in photography. When photographing wildlife, keep the sun at your back. Hard light (direct sun on the subject) is great for detail! This is one reason we don’t photograph people in direct sun. Shadows from direct sunlight enhance wrinkles, zits, and other blemishes. For wildlife, however, we want to see all the details in the fur and feathers. Remember, soft light generally causes soft images when it comes to wildlife.
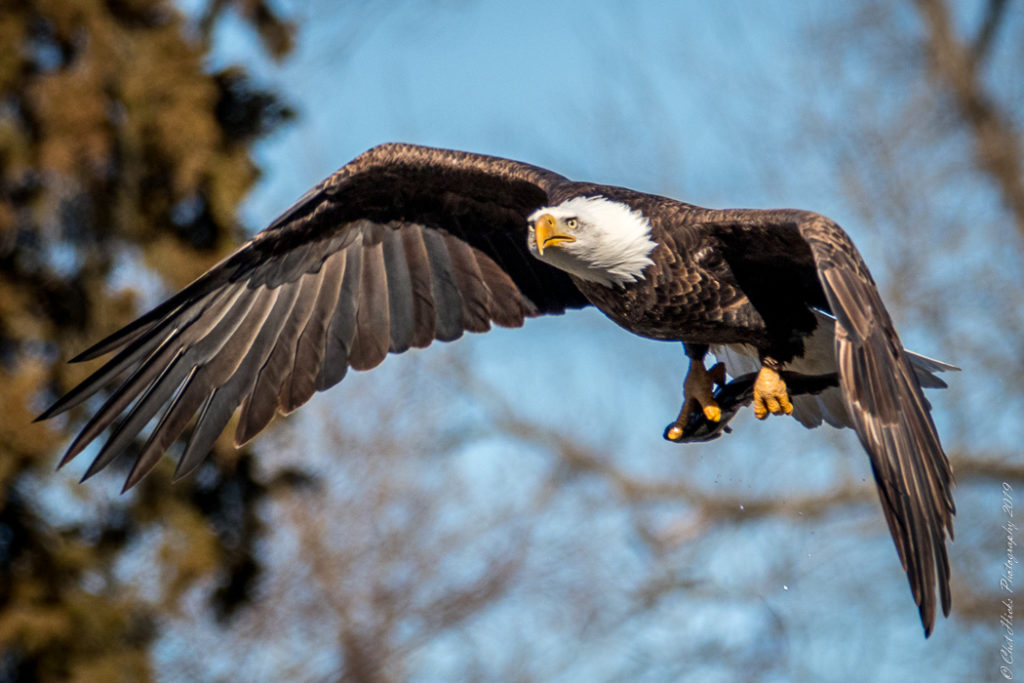
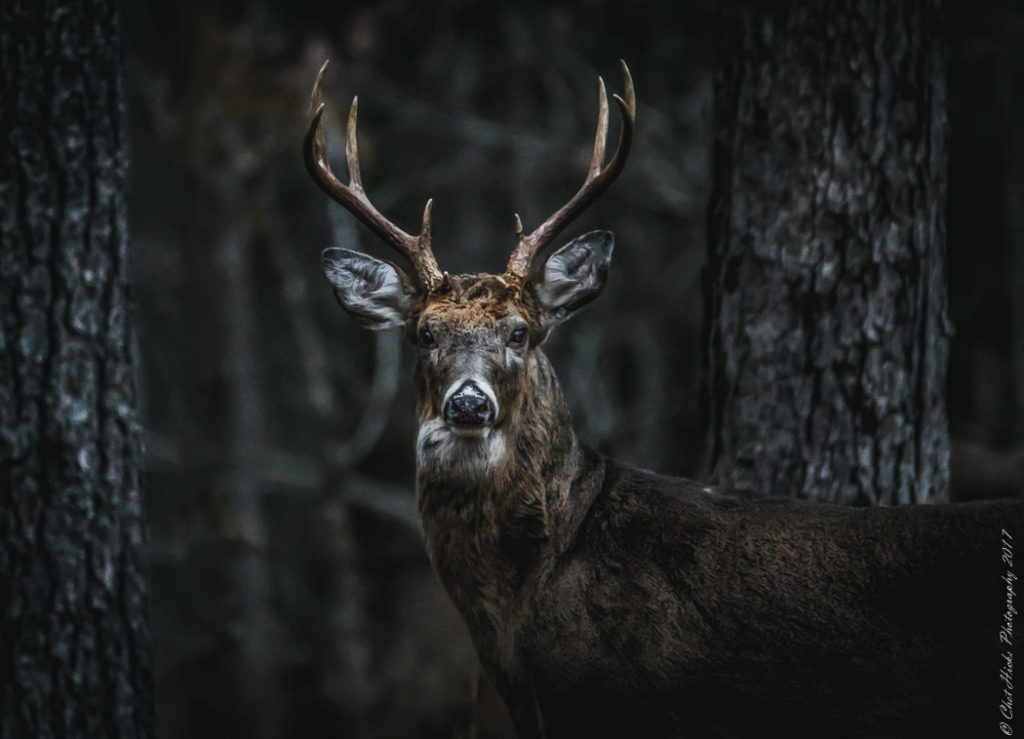
- Keep trying! It could be months before you get the opportunity to photograph the bald eagle with the fish, or the beautiful deer. Don’t worry, hone your skills and build a wildlife portfolio with more common animals first. Oh, and study other wildlife photographers’ images. Find out what you like and try to replicate it. Eventually, you will be able to create your own look. Always be practicing and be persistent; when the opportunity shows itself, you’ll be ready.
Leave a comment below describing what has been your best tip to help you become a better wildlife photographer.

Don't forget to follow and like 🙂